Meaningless
Meaningless is my ArtBlocks debut, dropping on Tues 30th May 2023. This project has been a journeyyyy and in this article I’ll talk through how the project works and roam around some conceptual thoughts.
You can see the project live here.

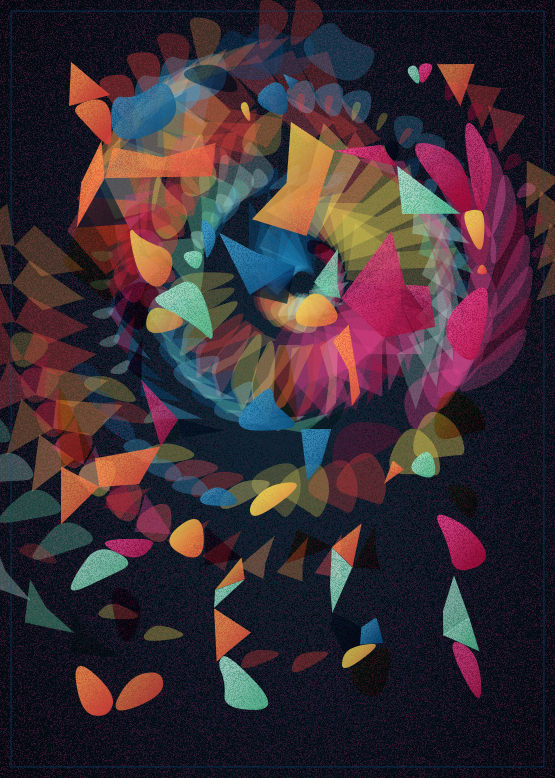
Meaningless - example output

Meaningless - example output

Meaningless - example output

Meaningless - example output
How it works
I’ll start by sharing how the algorithm works, as a background for the concept. I always try and keep discussion of algorithms accessible to a non-technical audience, and I recommend scrolling through even if just to see all the nice pictures, but if you’d like to skip straight to the conceptual stuff, you can go here.
At its core, Meaningless is a program which uses geometry and structural rules to build up varied forms. I allowed as much chaos and variety as possible, letting the algorithm express itself, while still retaining composition in each output. There’s a paradox or peculiarity here - the algorithm does not really have a self to express. And yet, the images often feel purposed and expressive.
Oops I’ve been distracted by concept already. Let’s review the algorithm.
Step 1: Nodes
The forms are made up of nodes which are connected together to create shapes. There are different ways these nodes can be laid out.

Scattered - even

Scattered - centered
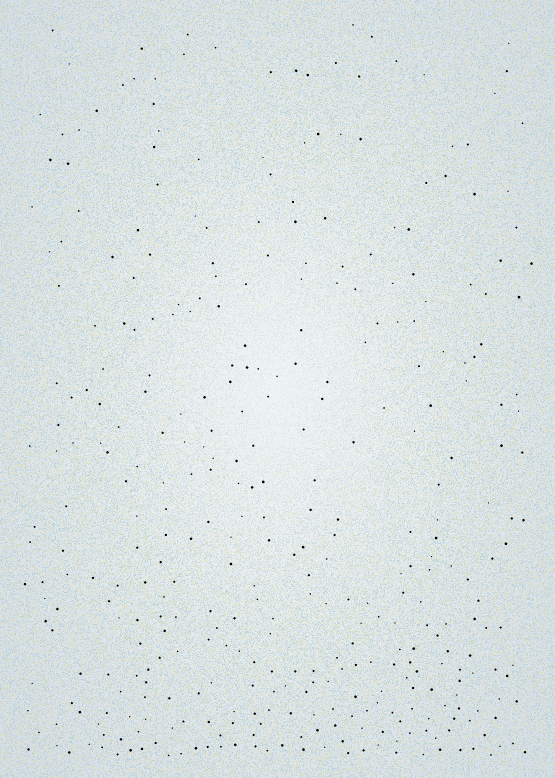
Scattered - vertical (weighted towards the bottom)

Grid (various sizes)

Grid (various sizes)

Grid (various sizes)

Vertical lines (various settings)

Vertical lines (various settings)

Vertical path
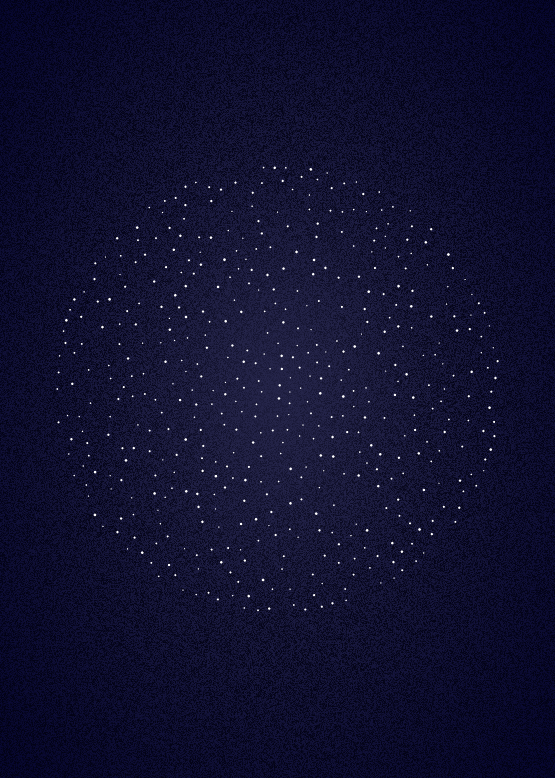
Ring - circle

Ring - donut

Ring - multi
Step 2: Segments
Once the nodes have been placed, the algorithm joins them up to create segments.

Segments being placed

Segments being placed
The segments are generated using the following process:
Choose a starter node, with preference given to nodes that have been used less so far.
Choose a target size and number of nodes for the segment.
Sort all other nodes by their distance from the starter node.
Choose the rest of the segment’s nodes in accordance with target size and distance from the starter node.
Validate the segment:
Segments with very acute angles are discarded.
Check if the new segment intersects previous segments - the number of allowed intersections varies by output.
There are a couple of settings that come into play here:
Number of segments
Number of nodes per segment
Target size for segments (chosen randomly from a set of possibilities or based on location)
Number of intersections allowed
In the animated examples above, each segment has 3-5 nodes, the sizes are random and there are no intersections.
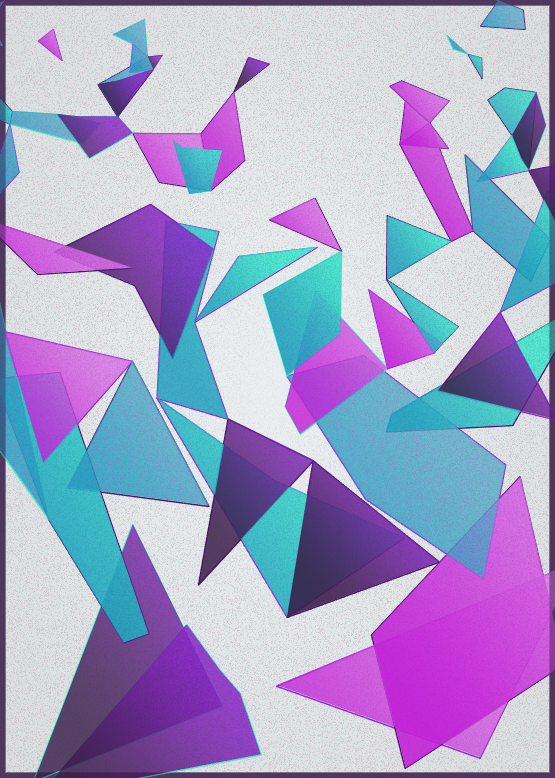
Here are some examples with different settings. Lets also start filling the segments in for aesthetic’s sake.
Some intersections are allowed.
Segment sizes get larger towards the bottom of the canvas.
Segments have 3 - 5 nodes.

Some intersections are allowed.
Segments sizes are chosen randomly.
Segments have 3 - 15 nodes.

Many intersections are allowed.
Segment sizes are chosen randomly.
Segments have 3 - 15 nodes.

No intersections are allowed.
Segment sizes are chosen randomly.
Segments have 6 - 10 nodes.
The settings begin to interact with one another, giving more control to the algorithm and taking it away from me as the artist.
For example,
when no/few intersections are allowed, larger segments are more likely to get discarded.
when the node layout is less evenly distributed, size layouts are less noticeable.
To demonstrate - in the following images, the target size of the segments increases towards the left of the canvas. This is much more noticeable when the node layout is “scattered” than when the node layout is “vertical path”.

Segment size increases towards left of canvas.
Node layout is scattered.

Segment size increases towards left of canvas.
Node layout is vertical path.
Also! Sometimes we get these circle segments! There can be 0, 1 or 2 circles which are sometimes pretty smooth and sometimes more wibbly.

One circle

Two circles

Wibbly circles
Step 3: Segment Details
Rounded Corners
Segments can have rounded corners instead of pointy ones. There is a global feature that handles the chance of this happening, so each output can either have 0%, 25%, 50%, 80% or 100% rounded segments.

100% rounded segments

50% rounded segments
Strokes & Outlines
Each output can have strokes or sketchy outlines, or neither. In most of the examples so far I’ve drawn strokes on every segment to demonstrate the structures more clearly.
In the final algorithm if strokes are turned on they appear on ~70% of segments. Alternatively if sketchy outlines are turned on, they can appear in a few different styles. Here are a couple of examples of outline types.

Sketchy outlines - bold outlines with many lines appearing on few segments

Sketchy outlines - thin outlines with few lines appearing on lots of segments
Step 4: Extras
Here’s the fun bit! A huge part of the aesthetic and structure of these compositions involves creating extra versions of the segments.
This is done in four main ways:
Local Rotate - segments are rotated around their own axis
Global Rotate - segments are rotated around a global axis
Mirror - segments are mirrored across a point within themselves or on their edge
Expand - segments are enlarged and moved away from a global point
Local rotate

Global Rotate

Mirror

Expand
Some of these methods have different settings that can be applied. For example here are two different Global Rotate options.

Global Rotate 1
Global Rotate 2
Each output can have 1 or 2 of the extra creation methods applied to it. For each of the methods in an output, a point is chosen and segments closer to that point are more likely to have those extras.
Step 5: Evaluate
Due to the amount of freedom given to the algorithm, sometimes the outputs were more sparse than I would like, so I took some of the control back. The segments and their extras are drawn to an unseen canvas, which is analysed using the pixel array. If more than a set percentage of the canvas is blank, then another set of extras is added using a method called Extra Rotate. The threshold varies depending on node layout.
The Extra Rotate method works similarly to Global Rotate, but the segments are enlarged and displaced further away from their original.
There are different settings for this one as well, meaning sometimes it’s a subtle uplift and sometimes it completely changes the output. Here are some examples of outputs before and after adding this extra step.

Before

After

Before

After
Step 6: Aesthetics
Gradients & Noise
The gradients and the noise in Meaningless are created in glsl.
I’ll briefly get technical. To ensure consistency, the random values for the noise are generated in javascript and passed to the shader in the RGB values of a texture. Inside the shader the gradient is calculated and multicoloured noise is added using these random values.
For each segment, the noisy gradient shader is drawn to a buffer canvas sized to cover the entire segment. The segment is then drawn over that in a flat colour, using the "destination-in” globalCompositeOperation, which essentially cuts out the shape of the segment in the block of shader, like a cookie cutter. This is then drawn to the canvas we can see.
Some palettes have more prominent noise or gradients than others.

‘Peachy’ palette’s soft pink/orange gradients

'Hi-light’ palette’s neon multicoloured noise

‘Trove’ palette’s background gradient and heavy noise

‘Fruit Salad’ palette’s background gradient and heavy noise
The size of the noise “pixels” responds to the size of the canvas, hopping up in steps, i.e. when the canvas is small, each noise block is 1px wide, and at larger canvas sizes the blocks are 4px wide. To smooth the difference at the edges of these steps, the opacity of the noise is reduced as the canvas size approaches a step.
Blending
Some palettes make use of the multiply and screen blend modes to create more depth, definition and variety in the colours. Here are some with/without examples of palettes where that particularly comes into play.
‘Neon Street’ palette with and without blend modes
Fading light’ palette with and without blend modes
Palettes
What would a project deep-dive be without a full list of the palettes.
Blush
Pop
Bzzzz

Fading Light
Avocado
Lime

Electric Garden

High Five
Grey Rainbow
Moon

Jazz Cup
Laundrette

Gem
Neon Street
Hi-light
Peachy
Fruit Salad
Puff

Rough Seas
Slice
Tangerine
Trove
Volcano
I hope this walk through the algorithm and features helps you look at the work on a deeper level.

What’s it about?
It’s meaningless, but so is everything.

Meaningless - example output

Meaningless - example output
I mean that everything is inherently meaningless. And since there is no given meaning, we can attribute our own, and this is a freedom. By acknowledging both the futility and the opportunity in our search for meaning, we can find joy. This philosophy is known as “optimistic nihilism”.
As the algorithm produces these images, it has no meaning in mind. When it draws a thick outline around one specific shape, it does that because the pseudorandom numbers told it to. When it repeats shapes in one direction, it’s following steps. And yet, when I look at the results, I feel something. This one is bold, this one seems cautious, this one is happy, this one aggressive, this one is ordered, this area must be important, this one contains a bird, a robot, a house.
These thoughts are subjective, and each viewer will have their own. Your view of any image is shaped by your past experiences and self.
Just as life does not prescribe us meaning but we can find it, Meaningless uses this same opportunity - the lack of predetermined meaning and the potency of found meaning.

Meaningless - example output

Meaningless - example output
There are two concepts here, which have been with me for a while. The optimistic idea of intrinsic meaninglessness in life (which I am just drawn to) and the question of what an artwork means and whether it has to mean something.
I have bachelors and masters degrees related to art and throughout both I was frequently asked “what’s it about?” and “why?”. I resisted those questions, feeling that the answers are, “what do you think it’s about?” and “because I thought it would be cool”. There’s a flippancy to these answers and I see why they didn’t always go down particularly well, but the core of my opinion is not trivial or thoughtless.
I strongly feel that it is absolutely valid to make art purely and only because the artist thought it would be cool and if they don’t want to they shouldn’t have to justify anything beyond that. Importantly, the word “cool” here is a shorthand. To expand - I thought it would be beautiful, I thought it would be interesting, I thought people would like it, I thought people would find something meaningful in it, I thought it would be fun, I wanted it to exist, I had the idea in my head and I wanted to show other people, and I thought they’d be happy it exists too… and on.

Non Space (2007)

Space Tunnel (2016)
One of my favourite things in life is seeing other people interact with work that I have made. Once at a festival, I was so overwhelmed by people using my interactive light installation Space Tunnel that I had to lie on the floor for a bit.
In my Photography BA, my final project was Non Space, a series of long exposures taken at night in urban settings, each containing light trails which I created using various torches. My tutors had asked me “why” and ”what’s it about” a lot and I was not able to answer well. At the final exhibition the audience answered for me, as they told me what the images reminded them of and how they made them feel. This was the beginning of my realisation of how important the audience is to me and I wish I’d been able to identify it properly then.
Matter Waves #17
Tiny Endless Things #235
Forecast #7
In some recent work I have enjoyed using more specific concepts and personal experiences for inspiration. I am able to more consciously tie in things that are playing on my mind as I make the work. For example, Matter Waves and Tiny Endless Things involve things I learnt in a quantum physics class and Forecast contains ideas around maps, speculations, plans, being lost. But even as I type this I’m conflicted - on the one hand I want to share whatever contributed to a project, and bring you in to that, on the other hand I don’t want to prescribe meaning, and I love it when it’s undecided; when you tell me.
With Meaningless I wanted to lean fully into refusing to determine meanings or concepts. I wanted to leave things open. I wanted to explore the power of randomness, geometry and algorithms to create a meaningless something. I wanted to give you something random upon which to receive meaning. I hope you find something there.
The project will go live on Artblocks on Tuesday 30th May 2023 at 6pm BST | 1pm EST.
You can click “explore possibilities” on the project page, to generate example outputs.

Meaningless - example output

Meaningless - example output
Enjoyed this article? I’d love it if you could give it a boost on Twitter!
Thanks!