Generating grids of forms
The idea
My first thought with these pieces was that I wanted to create abstract forms, using lots of circles and squares laid on top of each other. I thought it might be interesting to lay these forms out in a grid.
Starting code
In p5js, I created an object which I chose to call a “Matter” as a name for these forms.
Each Matter had:
an x and y position
a hue, saturation and brightness and opacity (generated randomly)
a number of how many Shapes that would make up the form
an array to hold those Shapes
Each Shape within a Matter had:
an x and y position (in relation to the x and y position of the Matter it belongs to)
a width and height (mostly I generated a width and then set the height to be the same, to create circles and squares, not ovals and rectangles)
a hue, saturation, brightness and opacity (Each of these was generated randomly, offset by some amount from the Matter’s hue/sat/bri/opa, up to a maximum maximum offset)
whether it is a circle or a square
whether it has a stroke (outline) or not
My code created a grid of these “Matters”, laid out evenly across the canvas in columns and rows.
There were several master variables which I could alter for different results such as:
the number of columns and rows
the min and max number of shapes a Matter could have, which was then determined by generating a random number between these limits
the maximum amount by which hue/sat/bri/opa can each be offset from the master value of that Matter
the min and max width/height of the shapes
the distance by which the x and y position of the Shapes is offset from the Matter
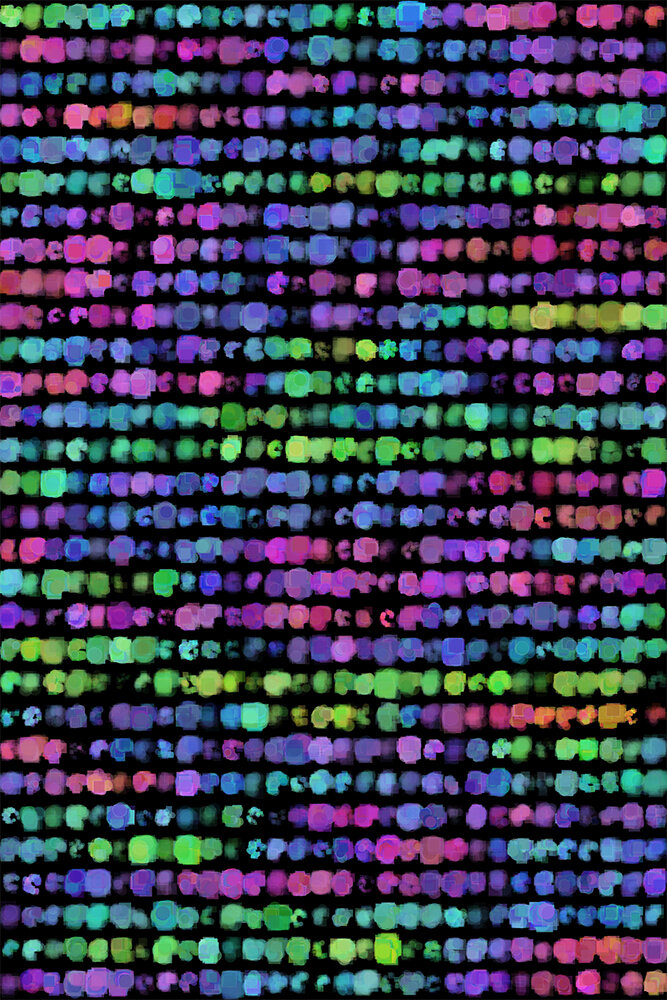
This are the kinds of results I got from that first code:


You can see right away how changing some variables can produce quite different results. In the two images above, obviously the number of columns and rows are different, but also the number of Shapes in each Matter (look out for some Matters in the second image that only have a few Shapes)
Upgrading the shape and colour
I thought that these Matters looked a bit boxy or square, so I decided to change the way the x and y position of the Shapes is determined.
Each Matter has an x and y position, which are determined by its place in the grid. Then each shape within that Matter is given its own x and y position which offsets it from the centre of the Matter. These are currently generated randomly from negative maximum offset to the maximum offset (e.g. from -400 to 400).
Instead, I decided that each Shape would be given a distance and an angle. This gives the Matters a more circular Shape because if the maximum distance is 400, then the Shapes can only be generated in a radius of up to 400 pixels away from the Matter’s central position, and cannot reach the far corners. In fact, I also set a minimum distance that each Shape could be from the centre of the Matter – meaning I could create rings of Shapes. The angle of the shape is random, to spread the shapes around in all directions from the centre of the Matter.
I also wanted to give a bit more flow to the colours so, instead of generating each Matter’s hue/sat/brightness randomly, I used Perlin noise to generate the hue, saturation and brightness of the Matters.

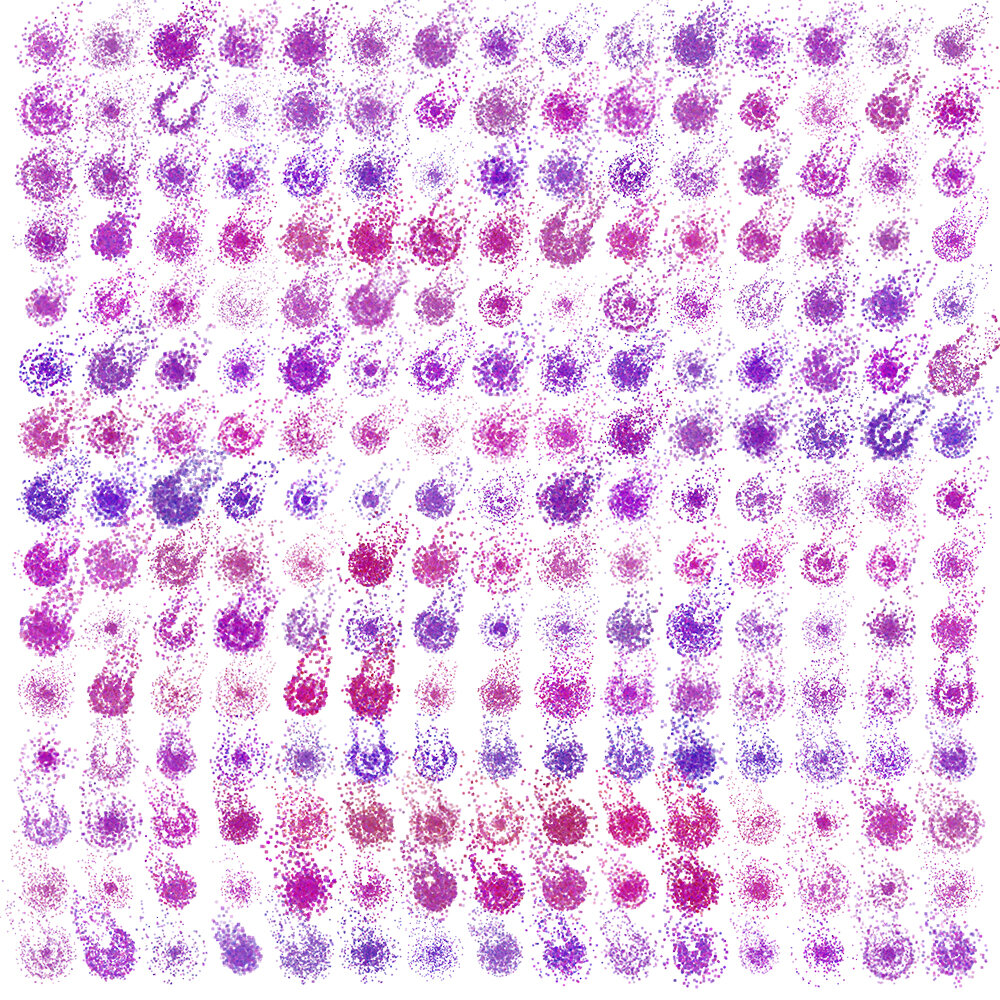
You can see how the Matters are now circular. In the first of these two images, I have set the minimum distance for shapes to be greater than 0, meaning the Matter ends up looking like a ring. You can also see (especially in the second of these two) how now the colours trend from Matter to Matter, resulting in segments of green, then blue, then purple, etc etc.
Changing variables throughout
Next I wanted to try trending other variables throughout the piece. I decided to experiment with reducing the maximum number of Shapes that a Matter could have, as they are created.
I also adjusted the grid location code, so that the piece has a border.

Making it more organic
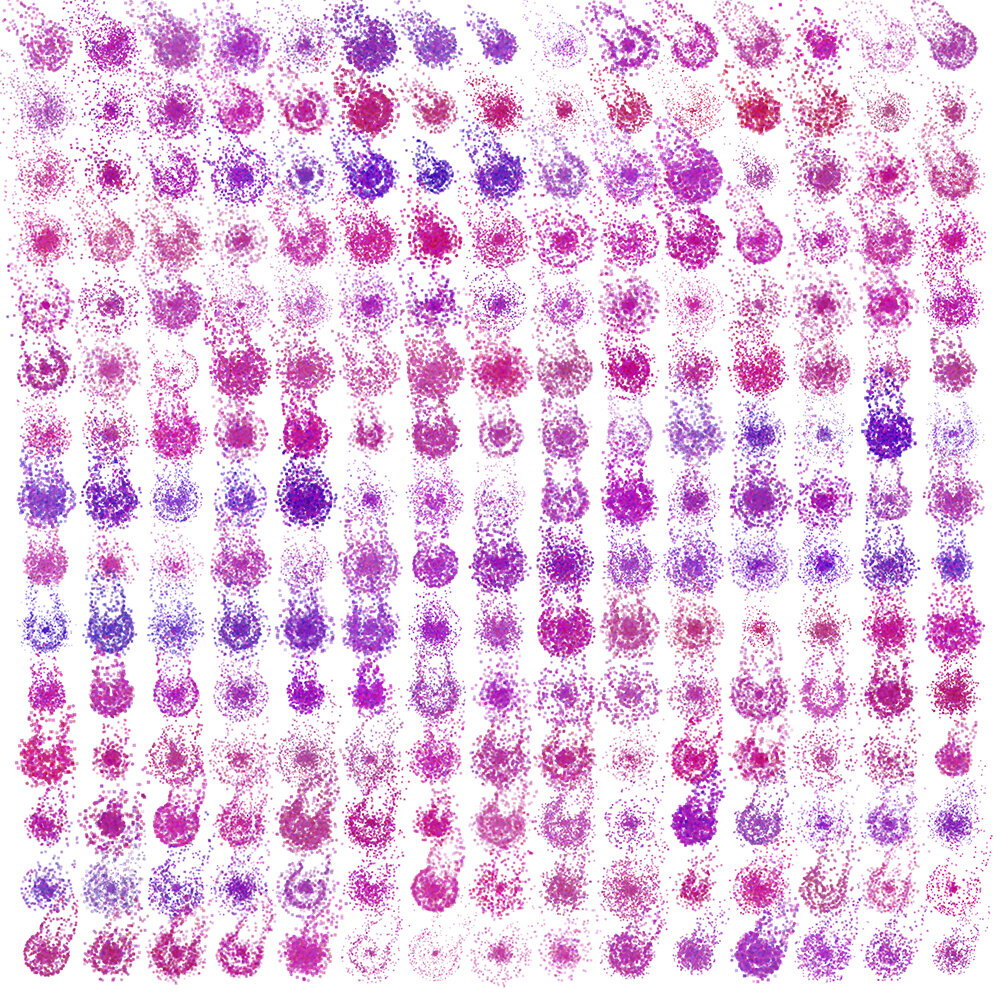
Next I wanted to play with the overall shape of the Matters to make them less uniform. I wanted it to look more organic, like a paint splash.
I decided that for each Matter, I would pick an angle and, when a Shape is generated close to that angle, the maximum distance for that Shape is higher. This causes one section of the Matter to kind of explode out.
Here’s how this turned out:


I like this messy look but I also wanted to try using Perlin noise to control the angle that explodes out. This led to some really cool effects where the whole piece looks like it has a direction or flow field trending through it.
The way it’s written here, it might sound like I immediately jumped from one step to the next but that’s not the case. At every stage, I experimented with a lot of different variables to come to the images you see and to get ideas for the next step. Along the way it often feels like things are branching off – meaning that there are always branches and pathways that get left behind, maybe returned to later but maybe not.
I’ve also been experimenting with gently post processing the images in Photoshop, mainly to have a little bit more control over the colours – particularly to choose background colour. I’m also trying out layering up multiple outputs from the code into one image.
There are some more final pieces on my instagram posts. Here are a few: