Twisted Ribbons
The idea
I’ve been taking part in Genuary, an online event with daily prompts for generative artists and creative coders through the month of January. We’re a little way into February now and I still have four prompts to do (work took over) but I have really enjoyed the whole event.
The prompt for Day 22 was suggested by Louis-André Labadie:
Draw a line. Wrong answers only.
LINES OF LINES
I started by making a row of vertical lines (see first image below). Then I set the angle for each of those lines to be slightly more tilted than the one before it (see second image below).
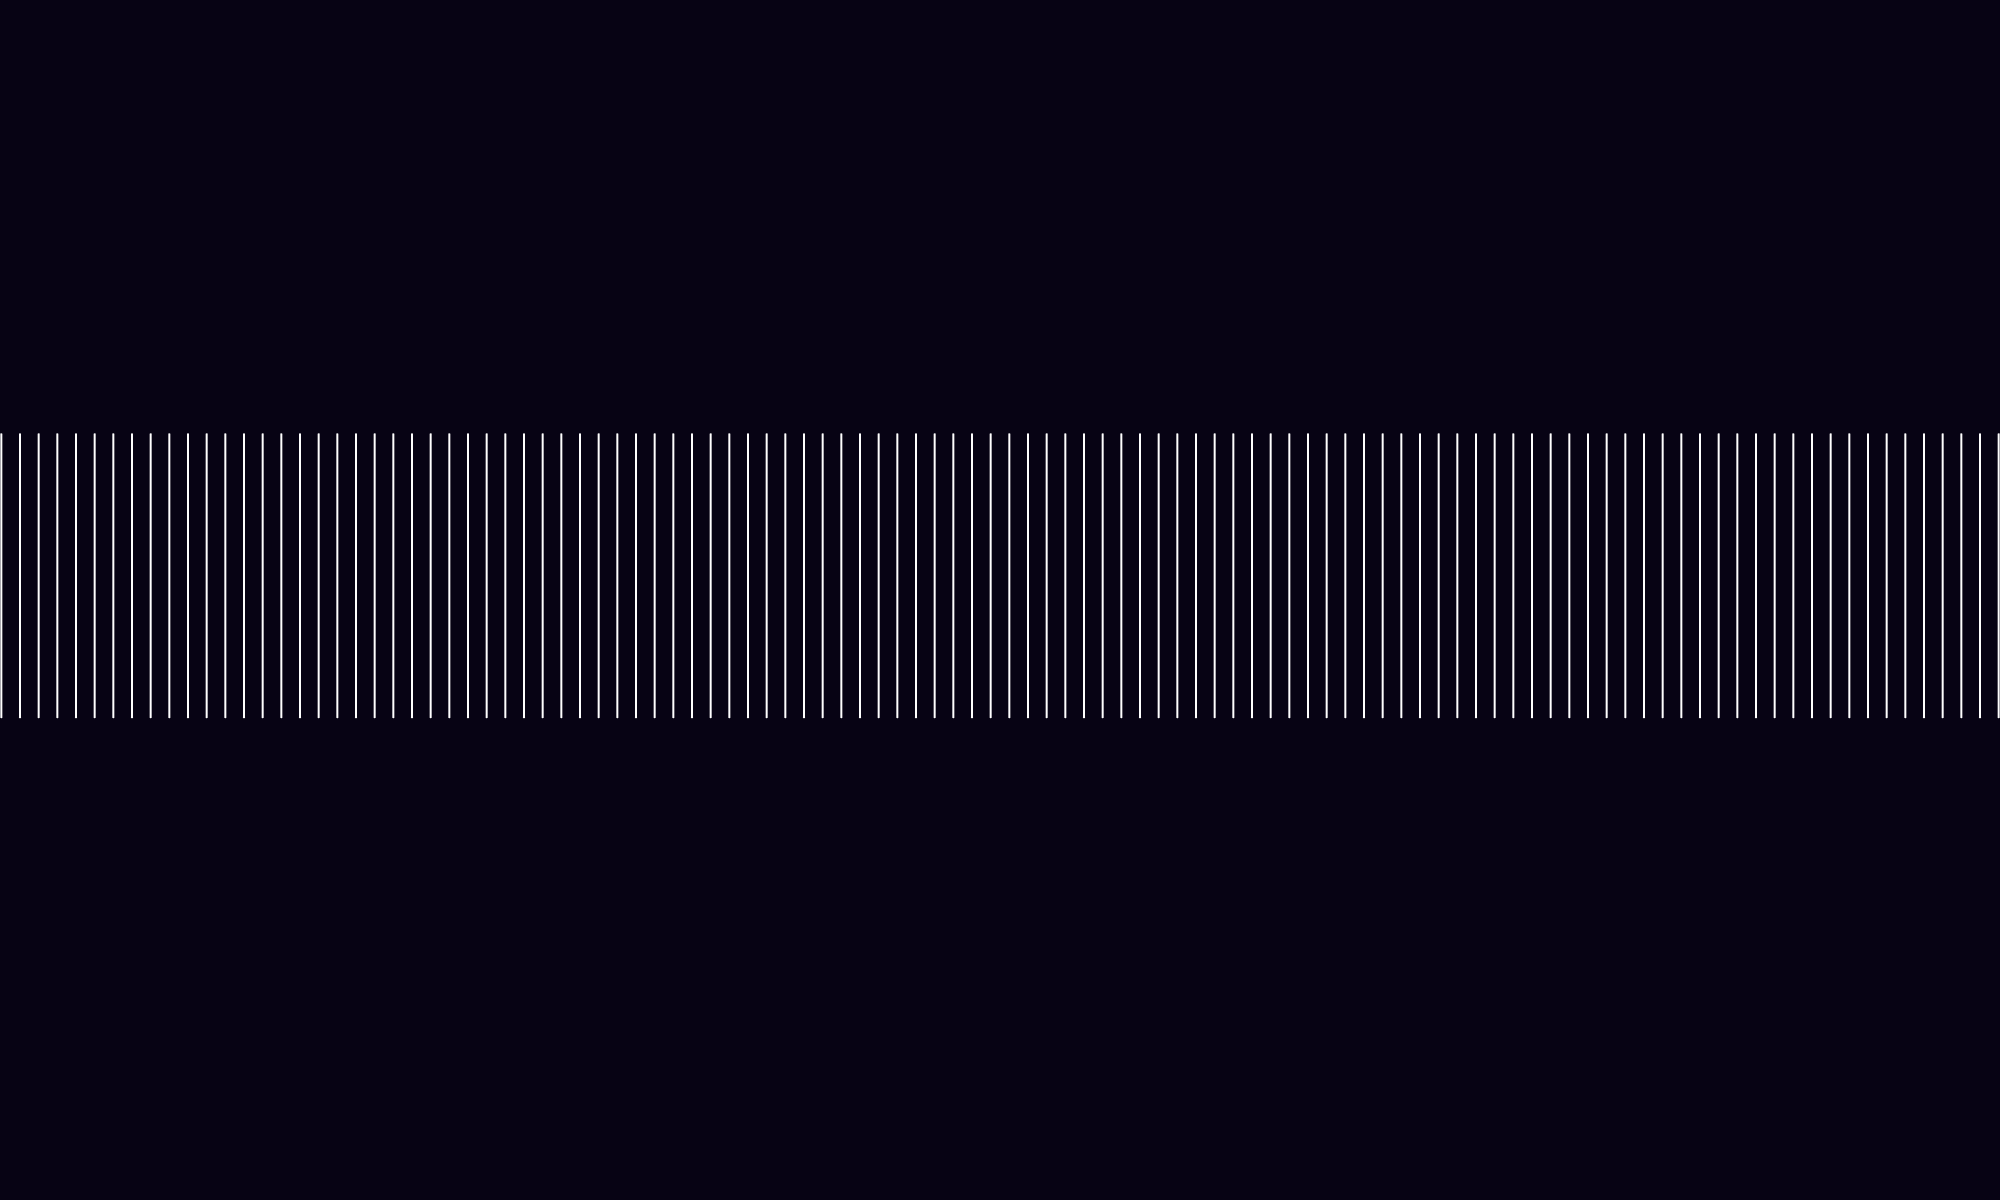

Next I increased the number of lines in the row, (first image below) and lowered the opacity of each line (second image below).


Lowering the opacity overall means that areas where the lines are intersecting become more opaque, creating interesting shapes and gradients.
drawing the lines
Let’s take a closer look at how I’m actually drawing the lines.
Each line in the row has an xy position and an angle. To draw a line, you actually need 2 xy positions.

I could have used trigonometry to calculate these positions but, instead, I used transformations to move the origin to the line’s xy location, rotate the whole canvas by the line’s angle.
From there, there are a couple of different ways to draw the line:
Use (0,0) as the first point, and (0, lineLength) as the second point. This means that all the lines rotate around one end of the line (first image below).
The second is to use (0, -lineLength/2) and (0, lineLength/2) as the points. This means the lines rotate around the centre of the line (second image below).


I used a combination of these methods throughout.
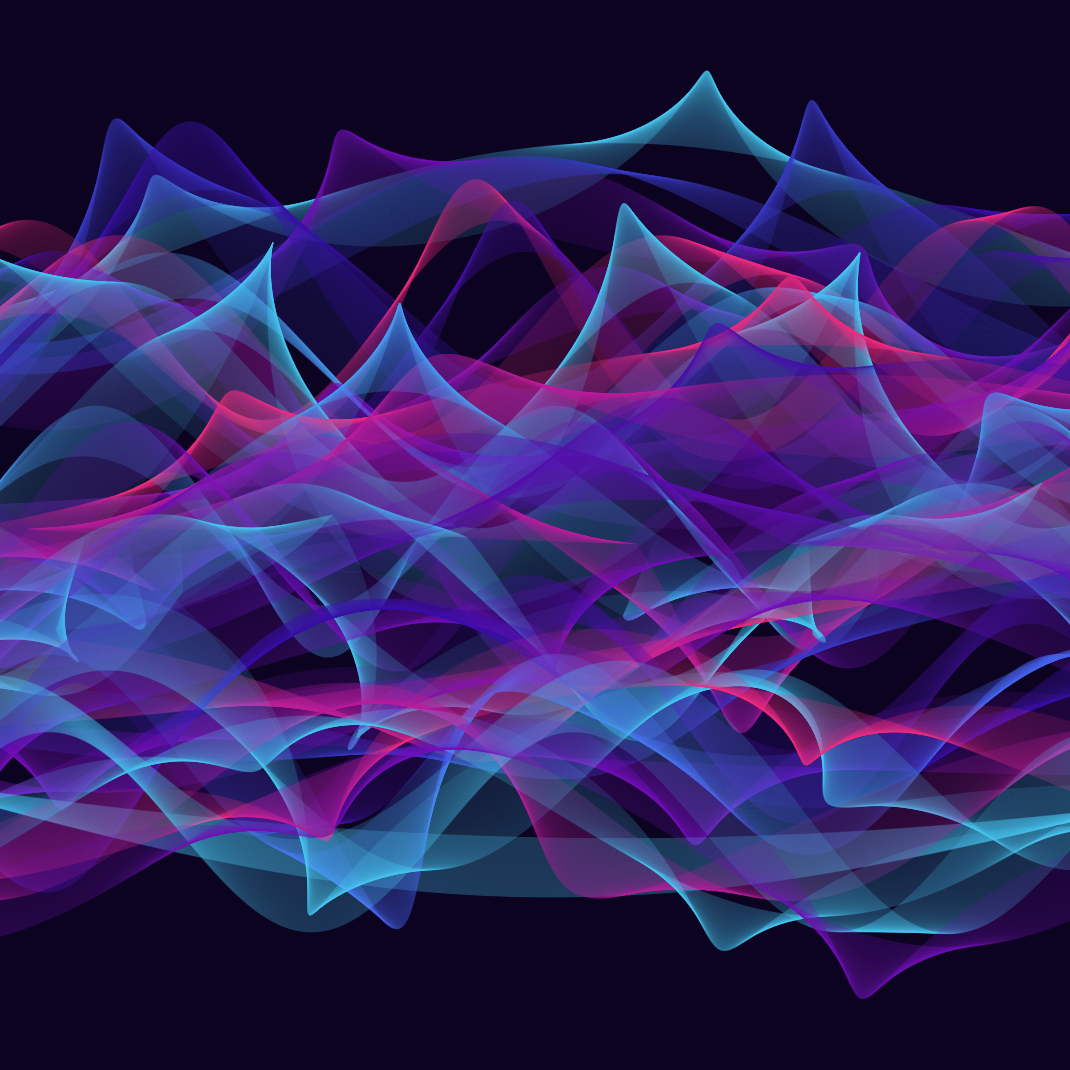
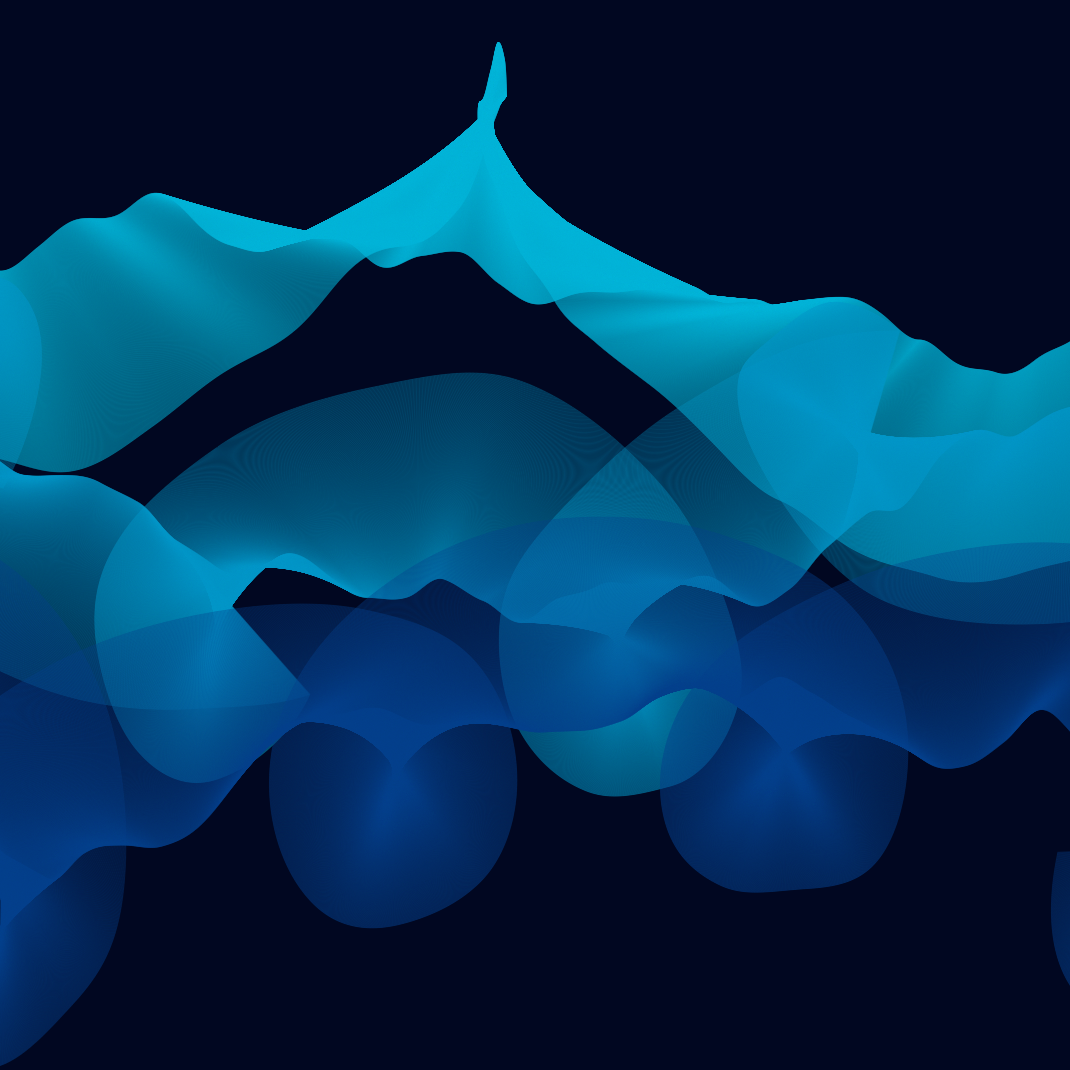
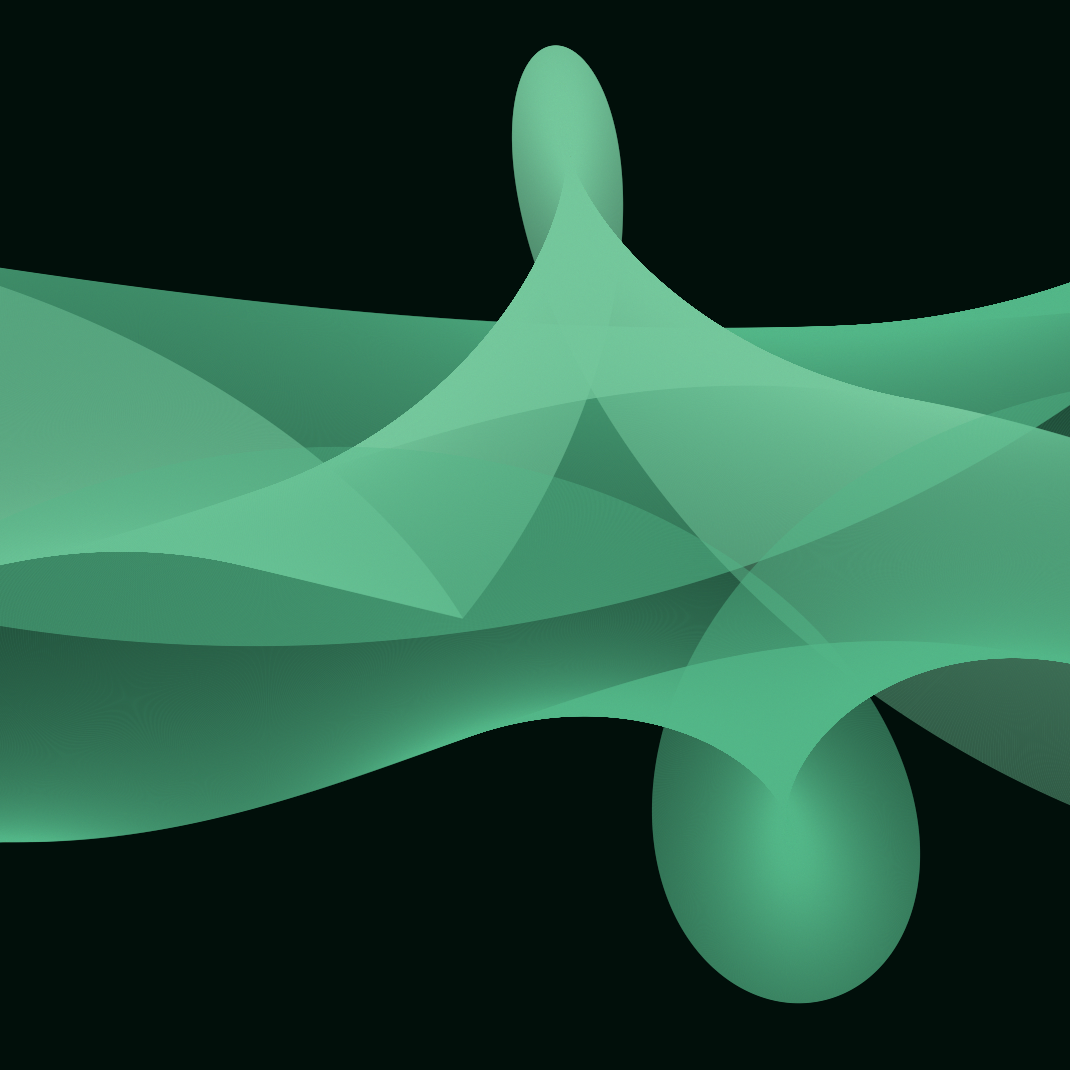
MAKING RIBBONS
To add more variety to the shapes, I introduced an offset to the y position of the lines. I used a sin wave to determine the amount of offset, to create smooth waves in the ribbons.
That leads to results like this:


I also tried playing with the length of the lines throughout the row, using Perlin noise in a similar way.
At first I found the results of this were often very jaggy but using a wide range of variation in the line lengths, combined with a very smooth transition through “time” in Perlin noise, can lead to nice results:


Then I started adjusting the parameters like:
Amount of rotation per line
Number of lines in the ribbon
Line lengths
yOffset size
This leads to lots of different results and shapes.
I also added colour, and started drawing multiple ribbons on the same canvas.
Here is a collection of the results: